1. 🧠 Key Concepts
a) Client-Side vs. Server-Side Routing
This is the most important concept to understand.
- Traditional (Server-Side) Routing: When you click a link (e.g.,
<a href="/about">), your browser sends a request to a server. The server then sends back an entirely new HTML file for the/aboutpage. This causes a full-page reload, which is slow. - React (Client-Side) Routing: Your app is a Single-Page Application (SPA). It only loads
index.htmlonce. When you click a link, React Router intercepts that click. It prevents the browser from making a new request. Instead, it:- Updates the URL in the browser’s address bar (e.g., to
/about). - Hides the “Home” component.
- Shows the “About” component. All of this happens instantly with JavaScript. No page reload. This is what makes React apps feel so fast and responsive.
- Updates the URL in the browser’s address bar (e.g., to
b) The Library: react-router-dom
React itself does not include routing. react-router-dom is the official, standard third-party library that you’ll install to handle it.
c) The Core Components of React Router
You’ll use several components from this library:
<BrowserRouter>: You “wrap” your entire application in this component (usually inmain.jsx). It’s what “turns on” routing and connects your app to the browser’s URL.<Routes>: This component acts like aswitchstatement. It looks at the current URL and renders the first<Route>that matches.<Route>: This is the rule. You define apath(the URL) and anelement(the component to render for that path).JavaScript<Routes> <Route path="/" element={<HomePage />} /> <Route path="/about" element={<AboutPage />} /> </Routes>
d) Linking: <Link> vs. <a href...>
- If you use a standard
<a href="/about">tag, you will break your React app. It will trigger a full, server-side page reload, defeating the purpose of client-side routing. - You must use the
<Link>component from React Router. It renders a normal<a>tag in the HTML, but it’s programmed to intercept the click and only tell React Router to change the page.JavaScriptimport { Link } from 'react-router-dom'; <nav> <Link to="/">Home</Link> <Link to="/about">About</Link> </nav>
e) Dynamic Routes with URL Parameters
What about a blog with 1,000 posts? You don’t create 1,000 routes. You create one dynamic route.
You use a colon (:) in the path to create a URL parameter.
path="/posts/:postId"
This will match /posts/1, /posts/hello-world, /posts/123, etc. Inside your PostPage component, you can then read the postId from the URL to know which post to fetch and display.
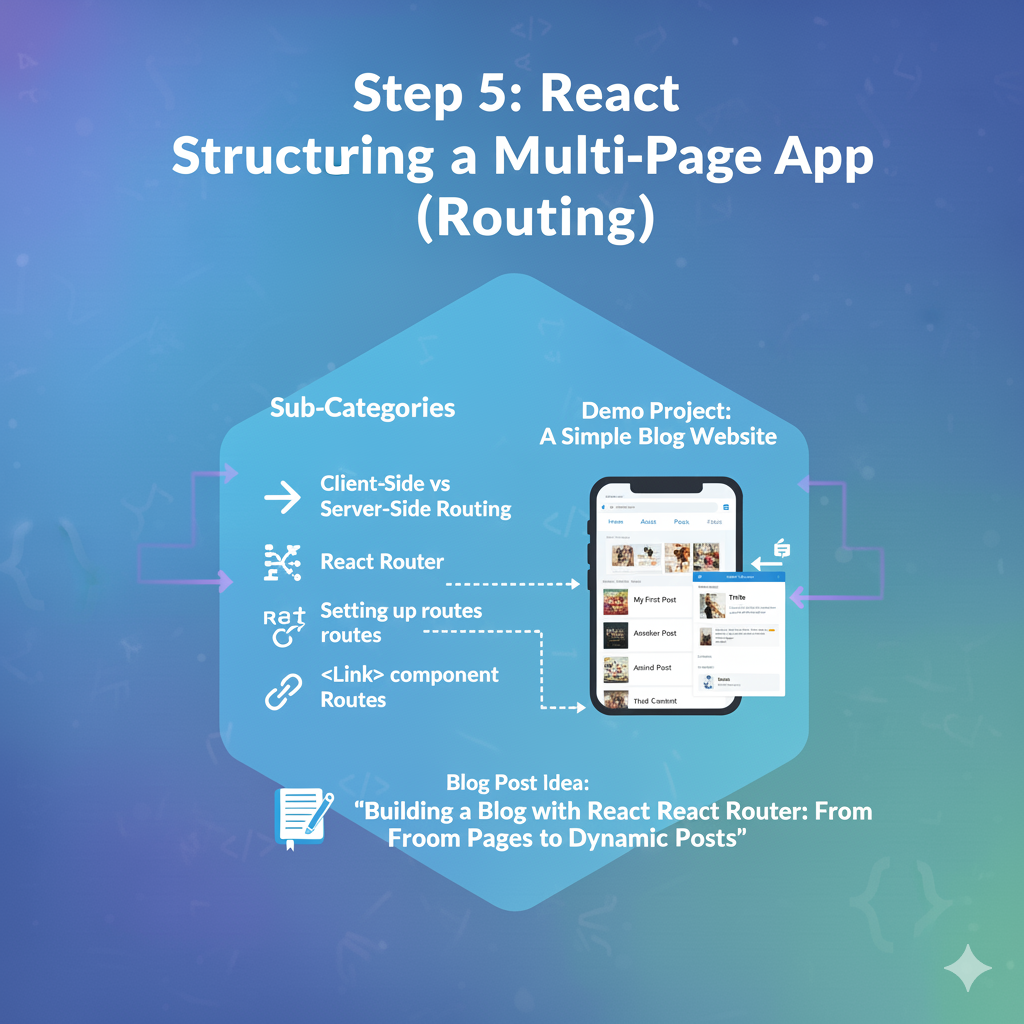
2. 🚀 Demo Project: A Simple Blog Website
We’ll build a site with four “pages”:
- Home Page: A simple welcome.
- About Page: Basic info.
- Posts Page: A list of blog post titles (which are links).
- Post Detail Page: A dynamic page that shows the content for one specific post.
Coding Steps:
Step 1: Install React Router Open your terminal in your project folder and run:
Bash
npm install react-router-dom
Step 2: Set up <BrowserRouter> in main.jsx This is a one-time setup. Go to src/main.jsx and wrap your <App /> component.
JavaScript
// src/main.jsx
import React from 'react';
import ReactDOM from 'react-dom/client';
import App from './App.jsx';
// 1. Import BrowserRouter
import { BrowserRouter } from 'react-router-dom';
import './MyStyles.css'; // Keep your styles

ReactDOM.createRoot(document.getElementById('root')).render(
  <React.StrictMode>
    {/* 2. Wrap your entire <App> */}
    <BrowserRouter>
      <App />
    </BrowserRouter>
  </React.StrictMode>,
);
Step 3: Create Your “Page” Components It’s good practice to create a new folder src/pages for components that act as a full page.
- Create a folder:
src/pages - Create
src/pages/HomePage.jsx:JavaScriptexport default function HomePage() { return <h1>Welcome to the Home Page!</h1>; } - Create
src/pages/AboutPage.jsx:JavaScriptexport default function AboutPage() { return <h1>About Us</h1>; } - Create
src/pages/PostsPage.jsx(we’ll link to our dynamic route from here):JavaScriptimport { Link } from 'react-router-dom'; // Some mock data const posts = [ { id: 1, title: "My First React Post" }, { id: 2, title: "Learning React Router" } ]; export default function PostsPage() { return ( <div> <h1>Blog Posts</h1> <ul> {posts.map(post => ( <li key={post.id}> {/* 3. Link to the dynamic route */} <Link to={`/posts/${post.id}`}>{post.title}</Link> </li> ))} </ul> </div> ); } - Create
src/pages/PostDetailPage.jsx(the dynamic page):JavaScript// 1. Import the 'useParams' hook import { useParams } from 'react-router-dom'; export default function PostDetailPage() { // 2. Get the 'postId' from the URL const { postId } = useParams(); return ( <div> <h1>Post Detail Page</h1> <p>You are viewing post number: <strong>{postId}</strong></p> {/* In a real app, you'd use this postId to fetch data */} </div> ); }
Step 4: Create a Navigation/Layout Component We need a navigation bar that’s always on the page. We’ll use a special component Outlet from React Router, which means “render the matching child route here.”
- Create a file
src/NavBar.jsx:JavaScriptimport { Link } from 'react-router-dom'; export default function NavBar() { return ( <nav className="navbar"> <Link to="/">Home</Link> <Link to="/about">About</Link> <Link to="/posts">Posts</Link> </nav> ); }
Step 5: Define Your Routes in App.jsx Now, let’s wire everything up in App.jsx.
JavaScript
// src/App.jsx
import { Routes, Route } from 'react-router-dom';

// Import your components
import NavBar from './NavBar.jsx';
import HomePage from './pages/HomePage.jsx';
import AboutPage from './pages/AboutPage.jsx';
import PostsPage from './pages/PostsPage.jsx';
import PostDetailPage from './pages/PostDetailPage.jsx';
import './MyStyles.css';

function App() {
  return (
    <div className="app-container">
      {/* 1. The NavBar will appear on every page */}
      <NavBar />

      {/* 2. <Routes> defines where the "page" will be swapped out */}
      <div className="page-content">
        <Routes>
          {/* 3. Define each route */}
          <Route path="/" element={<HomePage />} />
          <Route path="/about" element={<AboutPage />} />
          <Route path="/posts" element={<PostsPage />} />

          {/* 4. This is the DYNAMIC route */}
          <Route path="/posts/:postId" element={<PostDetailPage />} />
        </Routes>
      </div>
    </div>
  );
}

export default App;
Step 6: Add Styles Open src/MyStyles.css and add this for navigation:
CSS
/* Add this to your MyStyles.css */
.navbar {
  display: flex;
  gap: 20px;
  background-color: #333;
  padding: 15px;
  border-radius: 8px;
}

.navbar a {
  color: white;
  text-decoration: none;
  font-size: 1.1rem;
  font-weight: 500;
}

.navbar a:hover {
  text-decoration: underline;
}

.page-content {
  padding: 20px;
  margin-top: 10px;
}
Step 7: See the Result! Go to your browser.
- You’ll see the “Home Page” and your navigation bar.
- Click “About.” The URL changes to
/about, and the “About Us” content appears without a page reload. - Click “Posts.” You’ll see your list of two posts.
- Click “Learning React Router.” The URL will change to
/posts/2, and the dynamicPostDetailPagewill render, showing “You are viewing post number: 2”.
You have successfully built a multi-page application!