1. 🧠 Key Concepts
a) What is a “Side Effect”?
A React component’s main job is to be a “pure” function: it takes props and state and returns JSX.
A side effect is anything your component does that affects the “outside world” — anything besides just returning JSX.
Common examples of side effects:
- Fetching data from an API (the most common one!)
- Setting a timer (
setTimeoutorsetInterval) - Manually changing the HTML document (like
document.title = 'New Title') - Subscribing to a browser event (like
window.resize)
The Problem: If you put a side effect (like a fetch call) directly in your component function, it will run every single time the component renders. If that fetch then sets state (which it will), it will cause a re-render, which will trigger the fetch again… creating an infinite loop that crashes your app.
We need a way to tell React: “Run this code, but not as part of the normal render. Run it after the component has rendered to the screen.”
b) The useEffect Hook: The Tool for Side Effects
This is our second major hook. The useEffect hook is the only correct place to put side effects in a functional component.
It takes two arguments:
- An “effect” function: The code you want to run (e.g., your
fetchcall). - A “dependency” array: This is the most important part. It tells React when to re-run your effect.
JavaScript
import { useEffect, useState } from 'react';

useEffect(() => {
  // 1. The Effect Function:
  // This code runs AFTER the component renders
  console.log("Component has rendered. Effect is running.");

}, [ /* 2. The Dependency Array */ ]);
c) The Magic of the Dependency Array
This array is your control switch. It tells useEffect what to “watch.”
- Case 1:
[](An Empty Array)- What it means: “Only run this effect function one single time, right after the component mounts (is shown on screen for the first time).”
- Use Case: This is perfect for fetching initial data. You want to “fetch users” or “get blog posts” once when the page loads.
- Case 2:
[someVariable, someProp](An Array with Values)- What it means: “Run this effect once on mount, AND again anytime the value of
someVariableorsomePropchanges.” - Use Case: Imagine a
<UserProfile>component that takes auserIdprop. You want to re-fetch data if theuserIdchanges. You would useuseEffect(..., [userId]).
- What it means: “Run this effect once on mount, AND again anytime the value of
- Case 3: (No Array / Omitted)
- What it means: “Run this effect after every single render.”
- Use Case: This is almost always a bug. This is what will cause the infinite loop if you’re setting state inside. Avoid this.
Warning: If you use a
proporstatevariable inside youruseEffect, React’s linter (ESLint) will correctly warn you to add it to the dependency array. This is a safety feature.
d) Loading, Error, and Data States
A network request isn’t instant. It can be in one of three states:
- Loading: We’re waiting for the server to respond.
- Success: We got the data we wanted.
- Error: Something went wrong (API is down, bad URL, etc.).
Your UI must be able to handle all three. How? By using more state! We’ll use three useState hooks to track this.
const [data, setData] = useState(null);const [isLoading, setIsLoading] = useState(true);const [error, setError] = useState(null);
We’ll then use Conditional Rendering (from Step 3) to show the correct UI for each state.
e) The “Cleanup” Function
What happens if you start a timer (setInterval) and the component is removed from the screen? The timer will keep running forever in the background, creating a memory leak.
useEffect lets you return a function from your effect. This is called the “cleanup function.” React will run this function just before the component unmounts (is removed).
JavaScript
useEffect(() => {
  // Effect:
  const timerId = setInterval(() => {
    console.log("Timer is ticking...");
  }, 1000);

  // Cleanup:
  return () => {
    console.log("Cleaning up the timer!");
    clearInterval(timerId); // This stops the timer
  };
}, []);
For fetch requests, this is more advanced (you use an AbortController), but it’s crucial to know this exists for timers or subscriptions.
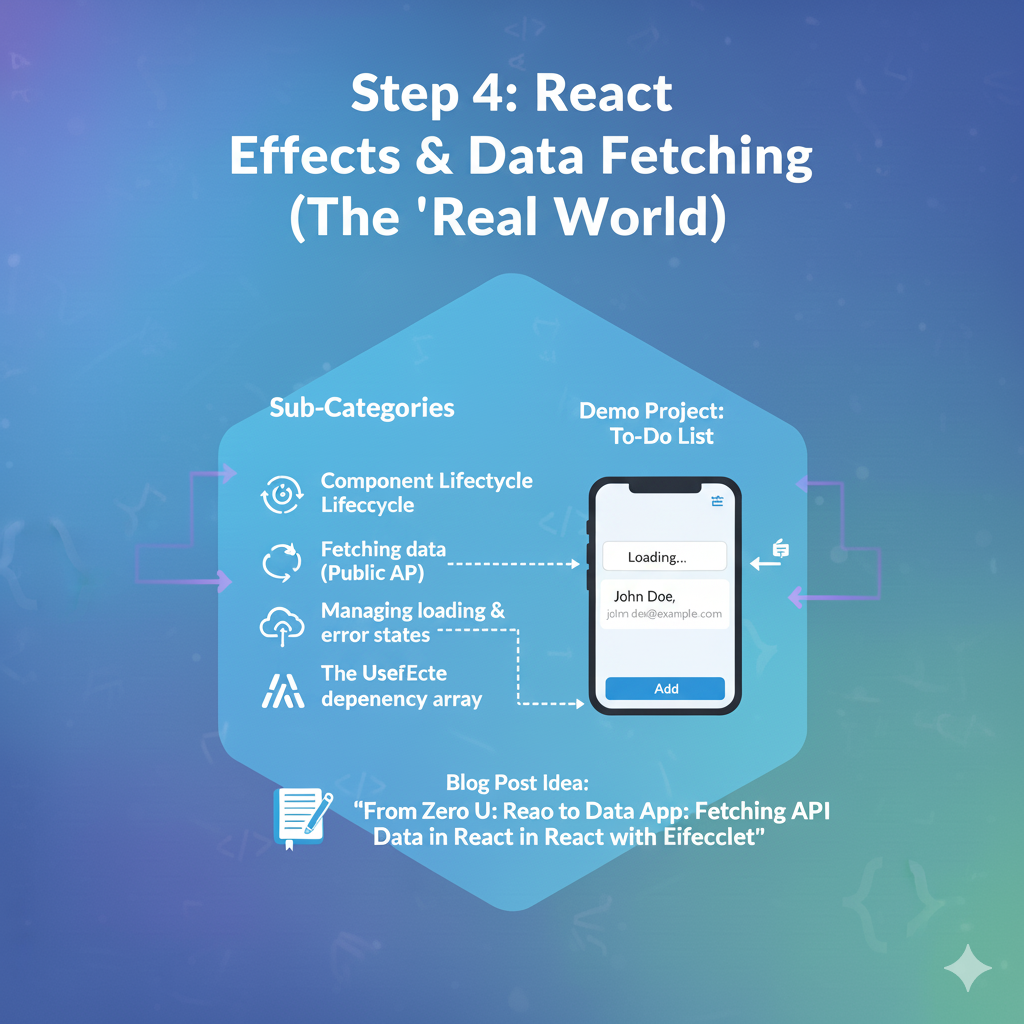
2. 🚀 Demo Project: Simple Data Fetcher
Let’s build a component that fetches a single user from the JSONPlaceholder public API and displays their name and email.
Coding Steps:
Step 1: Set up App.jsx Let’s start fresh in App.jsx. (You can delete the counter code).
JavaScript
// src/App.jsx

// 1. Import *both* useState and useEffect
import { useState, useEffect } from 'react';
import './MyStyles.css'; // We'll re-use our styles

function App() {
  // 2. Set up our three state variables
  const [data, setData] = useState(null);
  const [isLoading, setIsLoading] = useState(true);
  const [error, setError] = useState(null);

  // 3. Set up the useEffect hook
  useEffect(() => {
    // We want this to run *only once* on mount.
    // So, we pass an empty dependency array: []

    // We define an async function *inside* the effect
    // We can't make the effect function itself async (it's bad practice)
    async function fetchData() {
      try {
        const response = await fetch('https://jsonplaceholder.typicode.com/users/1');

        if (!response.ok) {
          // If response is not 2xx (e.g., 404, 500)
          throw new Error(`HTTP error! Status: ${response.status}`);
        }

        const userData = await response.json();
        setData(userData); // We got the data!
        setError(null); // Clear any previous errors

      } catch (e) {
        // Handle any errors that occurred
        setError(e.message);
        setData(null); // Clear any previous data

      } finally {
        // This runs whether it succeeded or failed
        setIsLoading(false); // We are done loading
      }
    }

    // Call the function
    fetchData();

  }, []); // <-- 4. The empty dependency array. This is CRITICAL.

  // 5. Render the UI based on our state
  return (
    <div className="data-fetcher-container">
      <h1>User Data</h1>

      {/* Case 1: We are loading */}
      {isLoading && <p className="loading">Loading user data...</p>}

      {/* Case 2: We have an error */}
      {error && <p className="error">Error: {error}</p>}

      {/* Case 3: We have data! */}
      {/* We check for 'data' to make sure it's not null */}
      {data && (
        <div className="user-data">
          <p><strong>Name:</strong> {data.name}</p>
          <p><strong>Email:</strong> {data.email}</p>
          <p><strong>Phone:</strong> {data.phone}</p>
        </div>
      )}
    </div>
  );
}

export default App;
Step 2: Add Styles Open src/MyStyles.css and paste this in.
CSS
/* src/MyStyles.css */

.data-fetcher-container {
  width: 400px;
  margin: 100px auto;
  padding: 30px;
  background-color: #ffffff;
  border-radius: 10px;
  box-shadow: 0 4px 12px rgba(0, 0, 0, 0.1);
}

.data-fetcher-container h1 {
  text-align: center;
  color: #333;
  margin-top: 0;
}

.loading {
  font-size: 1.2rem;
  font-weight: 500;
  color: #555;
  text-align: center;
}

.error {
  font-size: 1.1rem;
  font-weight: 500;
  color: #D8000C; /* Red */
  background-color: #FFD2D2;
  padding: 10px;
  border-radius: 5px;
  text-align: center;
}

.user-data {
  background-color: #f9f9f9;
  border: 1px solid #eee;
  border-radius: 8px;
  padding: 16px;
}

.user-data p {
  font-size: 1.1rem;
  margin: 8px 0;
}
Step 3: See the Result! Go to your browser. For a split second, you’ll see “Loading user data…”. Then, it will be replaced by the name, email, and phone number of “Leanne Graham” fetched live from the API.
To test the error state, try changing the URL in your fetch call to something that doesn’t exist (like .../users/99999) and save. You’ll see your error message appear.