1. 🧠 Key Concepts
a) State: A Component’s “Memory”
Think of your component from Step 1, <ProfileCard>. It was “dumb.” It only knew what its parent (App) told it via props. It couldn’t remember anything on its own.
State is a component’s own private memory.
propsare data passed into a component (like a script).stateis data managed inside a component (like its own memories).
The most important rule in React: When a component’s state changes, React will automatically re-render that component (and its children) to show the new data. This is the core “reaction” in React.
b) The useState Hook
This is our first “Hook.” A Hook is a special function from React (it always starts with use...) that lets you “hook into” React’s features, like state.
- What it does: It adds state (memory) to a functional component.
- How to use it: You call it at the top of your component function.
- What it gives you: It returns an array with exactly two things:
- The current value of the state (e.g.,
count). - A setter function to update that value (e.g.,
setCount).
- The current value of the state (e.g.,
We use JavaScript destructuring (from Step 0!) to get them:
JavaScript
import { useState } from 'react'; // First, you must import it!

function MyComponent() {
  // Call useState with the initial (default) value
  // It gives us back the value and the function to change it
  const [count, setCount] = useState(0);

  // ...
}
c) Events: onClick, onChange
React components can listen for user actions using events, just like in HTML. The syntax is slightly different:
- HTML:
onclick="..." - JSX:
onClick={...}(notice the camelCase)
When a user clicks, we want to run a JavaScript function.
JavaScript
// This function will be called when the button is clicked
function sayHello() {
  console.log("Hello!");
}

<button onClick={sayHello}>Click Me</button>
d) The “Magic Loop”: Tying It All Together
This is the fundamental pattern of all interactivity in React:
- A user performs an action (e.g., clicks a button).
- The
onClickevent triggers a handler function (e.g.,handleIncrement). - Inside the handler, you call the setter function with the new state (e.g.,
setCount(count + 1)). - React sees that the state has changed.
- React re-renders your component.
- The user sees the new state (
countis now1) on the screen.
CRITICAL RULE: You must never change state directly.
- WRONG:
count = count + 1;❌ (React won’t know it changed and will not re-render)- RIGHT:
setCount(count + 1);✅ (This tells React to re-render)
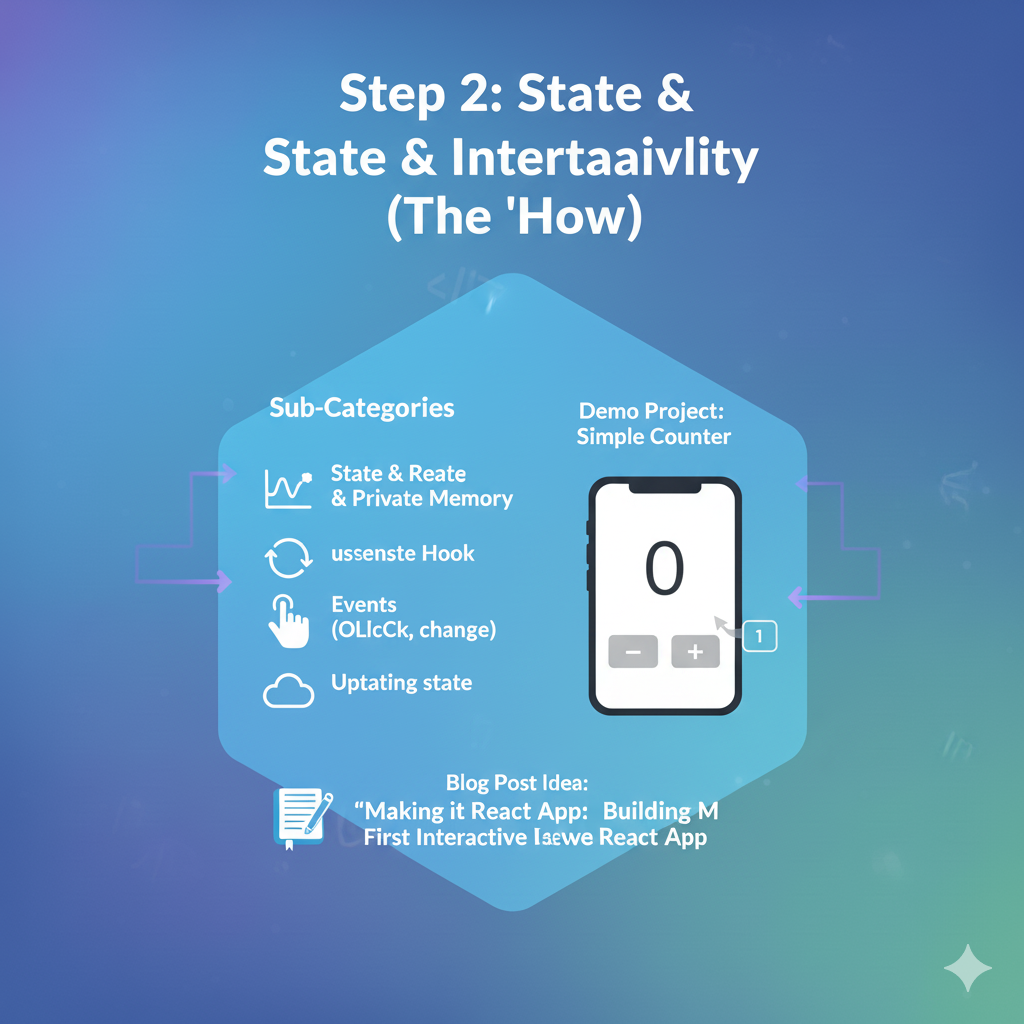
2. 🚀 Demo Project: Simple Counter
Let’s build a component that uses all these concepts.
Coding Steps:
Step 1: Clean up App.jsx Let’s modify App.jsx to be our new counter. (You can delete ProfileCard.jsx or just leave it for now).
- Open
src/App.jsx. - Delete all the
<ProfileCard>code from inside theAppfunction.
Step 2: Create the Counter Component Paste this code into src/App.jsx. Read the comments to see how it works.
JavaScript
// src/App.jsx

// 1. We MUST import useState from 'react'
import { useState } from 'react';

// We can re-use our CSS
import './MyStyles.css';

function App() {
  // 2. We set up our state.
  // 'count' is our state variable (the memory)
  // 'setCount' is the *only* function we can use to update 'count'
  // We start the counter at 0.
  const [count, setCount] = useState(0);

  // 3. This function will be called by the "Increment" button's onClick
  function handleIncrement() {
    // We update the state using the setter function
    setCount(count + 1);
  }

  // 4. This function will be called by the "Decrement" button's onClick
  function handleDecrement() {
    setCount(count - 1);
  }

  // 5. This is the JSX (what the user sees)
  return (
    <div className="counter-container">
      {/* React will replace {count} with the current value from state */}
      <h1 className="counter-display">{count}</h1>

      <div className="counter-buttons">
        {/* We tell the buttons to call our functions on click */}
        <button className="counter-btn" onClick={handleDecrement}>Decrement</button>
        <button className="counter-btn" onClick={handleIncrement}>Increment</button>
      </div>
    </div>
  );
}

export default App;
Step 3: Add Styles Your counter will work, but it will look plain. Let’s add some styles.
- Open
src/MyStyles.css. - You can delete the old profile card styles if you want.
- Paste this new CSS at the end of the file:
CSS
/* src/MyStyles.css */

.counter-container {
  width: 300px;
  margin: 100px auto;
  padding: 30px;
  background-color: #ffffff;
  border-radius: 10px;
  box-shadow: 0 4px 12px rgba(0, 0, 0, 0.1);
  text-align: center;
}

.counter-display {
  font-size: 5rem; /* 80px */
  color: #333;
  margin: 0;
  font-weight: 700;
}

.counter-buttons {
  display: flex;
  justify-content: space-around; /* Puts space between buttons */
  margin-top: 24px;
}

.counter-btn {
  font-size: 1rem;
  padding: 12px 24px;
  border: none;
  border-radius: 8px;
  cursor: pointer;
  background-color: #007bff;
  color: white;
  font-weight: 600;
  transition: background-color 0.2s;
}

.counter-btn:hover {
  background-color: #0056b3;
}
Step 4: See the Result! Go to your browser. You should now see a counter. Click the buttons. The number will update!
You have just built your first fully interactive React component. You’ve mastered the single most important concept in React: State.